PNL18.COM
Trang chủ
JAV
Phim sex hay
Phim sex Vietsub
Phim sex không che
Sex học sinh
Vụng trộm - Ngoại tình
Phim cấp 3
Sex Mỹ - Châu Âu
XVIDEOS
XNXX
XXX
Phim sex mới
Vietsub
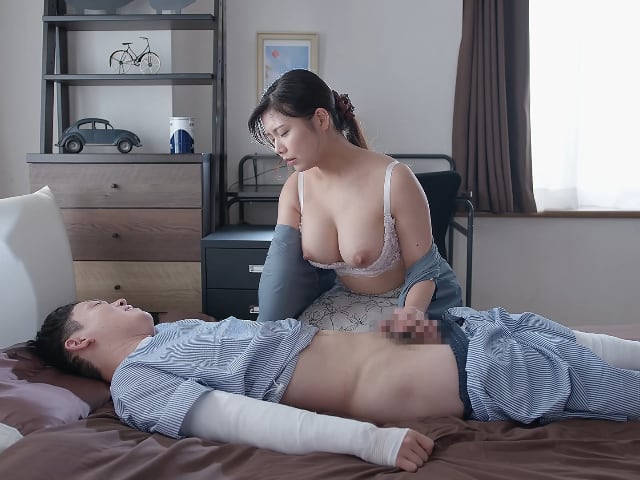
Mẹ kế giúp con chồng bị tai nạn "giải toả" ham muốn
Vietsub
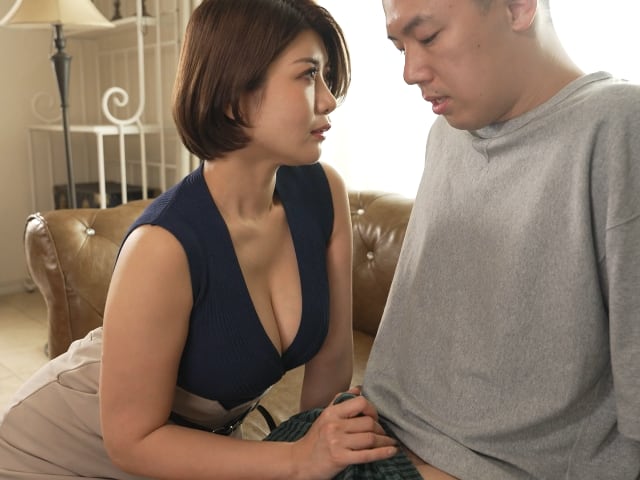
Mẹ ơi con chịu hết nổi rồi
Vietsub
Chăm sóc con gái, chăm luôn con cặc của con rể
Vietsub
Mẹ của bạn gái lại là "mẹ đường" của tôi
Vietsub
Con gái mang bầu, mẹ giúp con rể thoải mãn cơn nứng
Uncen
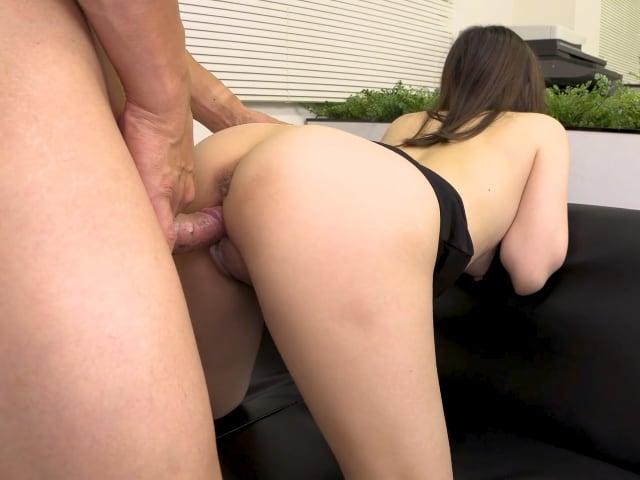
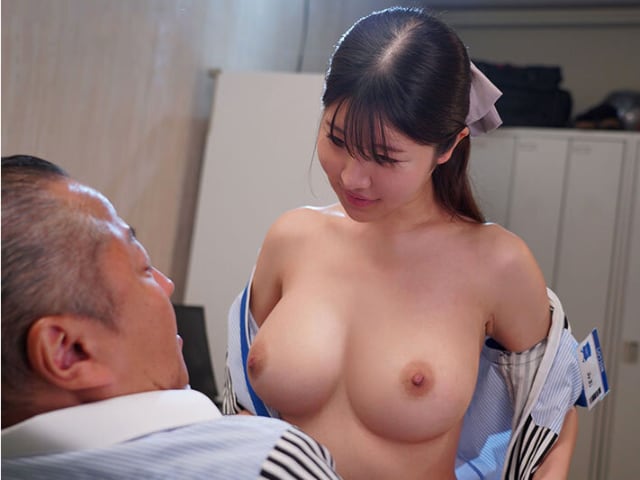
Em nhân viên mới ngày đầu đi làm đã bị địt không kịp thở
Uncen
Đi massage nâng ngực bị nhân viên sàm sỡ gạ địt
Uncen
Bạn gái lên cơn nứng mới sáng đã muốn bú cặc tôi
Vietsub
Yêu bạn của mẹ - Meguri
Vietsub
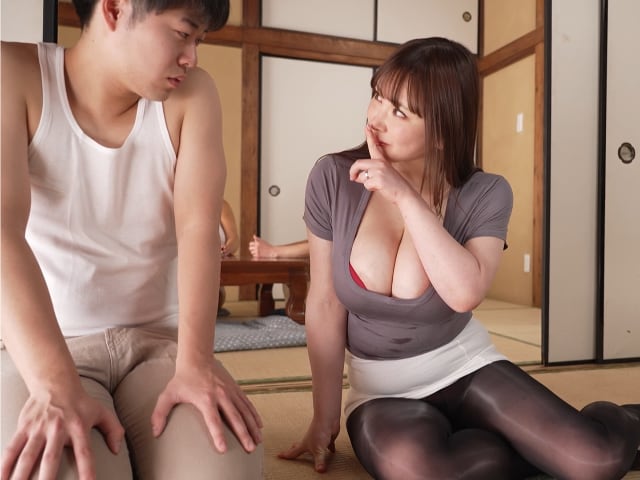
Ngoại tình với bạn thân của con trai
Vietsub
Vợ sắp cưới đi tập gym và cái kết
Vietsub
Cô chủ nhà tắm dâm đãng và cậu bạn thân thuở nhỏ
Vietsub
Bố chồng bắt gặp con dâu móc lồn trong phòng mình
Vietsub
Chị của bạn gái thèm bú cặc của tôi
Vietsub
Khách nữ chân dài và cậu lao công may mắn
Vietsub
Trừng phạt cô vợ ngoại tình
Vietsub
Liệu pháp sức khoẻ bằng tình dục
Vietsub
Cô gia sư dâm đãng của tôi
Vietsub
Nàng người mẫu vú bự và chàng trợ lý may mắn
Vietsub
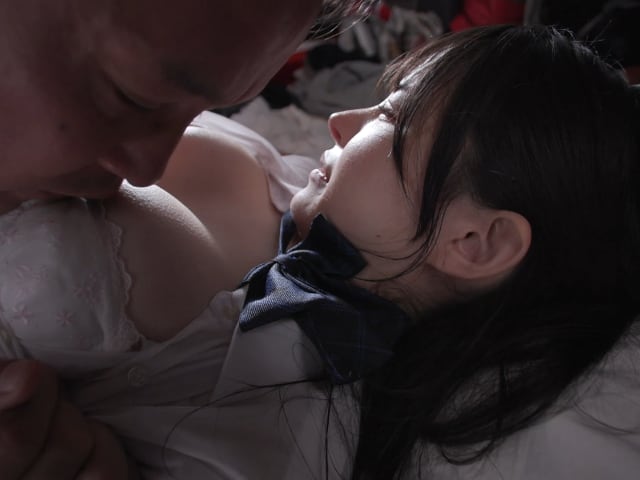
Nữ sinh ngây thơ chìm trong tình dục với thầy giáo
Uncen
Cô giáo trẻ bị học sinh địt tập thể trong giờ giải lao
Vietsub
Địt cô chị gái của thằng bạn thân khi về quê
Vietsub
Nữ thần ở công ty qua đêm ở nhà tôi
Vietsub
Đụ nàng quản lý CLB chỉ thèm con cặc của tôi
Vietsub
Cho bố đút cặc vào lồn con đi, chỉ một chút thôi
Vietsub
Gái dâm vú bự gạ tình quản lý ngay trong cửa hàng
Vietsub
Nữ sinh dùng tình dục để giúp chú họ vực dậy tinh thần
Uncen
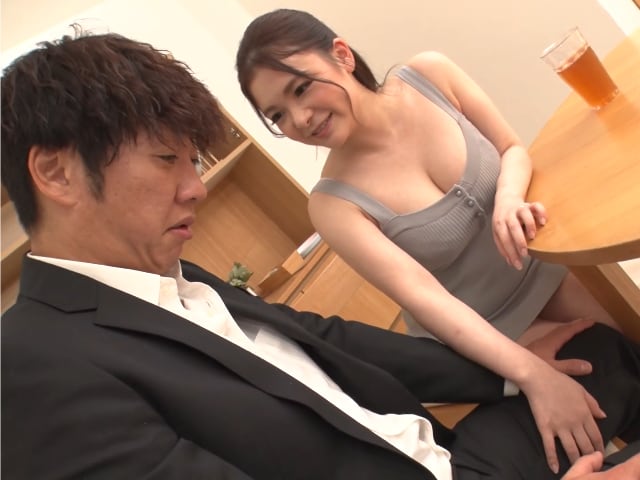
Đến nhà chơi, anh nhân viên bị vợ sếp gạ tình
Uncen
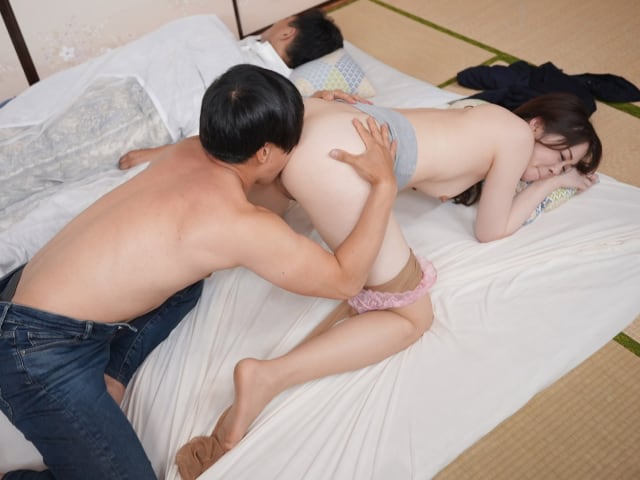
Thanh niên nhậu say, không biết vợ mình bị thằng bạn thân địt ngay bên cạnh
Vietsub
Nữ nhân viên vú bự dâm đãng và tên sếp số hưởng
1
2
3
..
104
→